
This post may contain references to products from one or more of our advertisers. Oh Sweet Basil may receive compensation when you click on links to such products.
Learn how to make dulce de leche at home with just 1 ingredient! Use the stovetop or oven for thick, creamy, caramelized dulce de leche.
That can of sweetened condensed milk in your pantry is about to become liquid gold! With a little time and almost no hands-on work, it transforms into rich, silky homemade dulce de leche for drizzling, swirling, stuffing and spooning over all your favorite desserts.

Years ago, I started making it myself because I couldn’t find a single can of dulce de leche at the grocery store. I drove all over looking for it before finally realizing…why am I doing this when I can make it at home?!
Turns out, I should have been making it myself all along.
Quick Look
- Ingredients: 1
- Prep: 5 minutes
- Cook Time: About 2–2½ hours
- Methods: Stovetop or oven
- Texture: Thick, creamy and spreadable
- Best for: Pies, cookies, cakes, churros and ice cream
Why You’ll Love This Dulce de Leche Recipe

- Almost no hands-on work: The hardest part is waiting for it to cook!
- Make it your way: Cook it a little longer for a darker color and deeper caramelized flavor.
- Use it on EVERYTHING: Drizzle it, spread it, swirl it or stuff it into your favorite desserts.
- Perfect for making ahead: Keep a jar in the fridge and dessert just got a whole lot better.
What is Dulce De Leche?
Dulce de leche is a rich, creamy confection popular throughout Latin America. Its name means “sweet milk,” and it’s made by slowly cooking milk and sugar until thick, golden and caramelized.
It tastes similar to caramel, but there’s an important difference. Traditional caramel starts with sugar, while dulce de leche is made by cooking milk and sugar together. That gives dulce de leche its creamy texture and distinctive milky caramel flavor.
And sweetened condensed milk gives us the easiest shortcut because the milk and sugar are already combined!

Ingredients You’ll Need
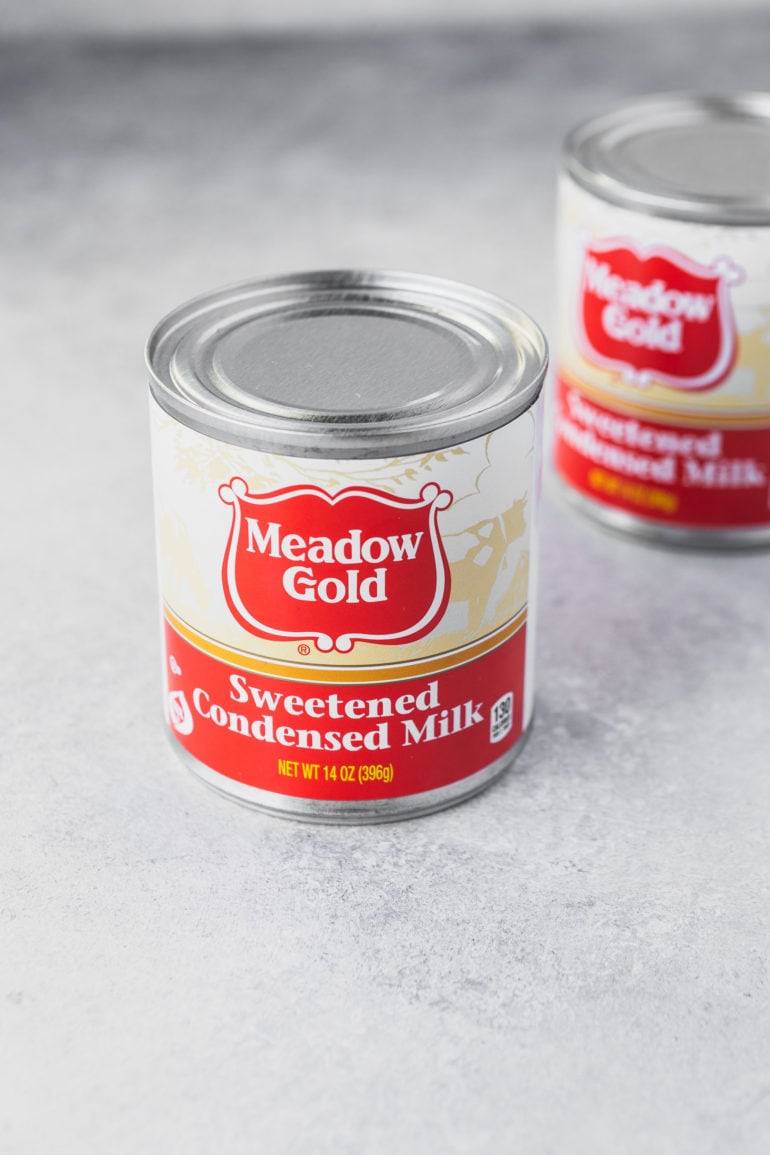
Sweetened Condensed Milk: That’s it! As the milk and sugar slowly cook, they caramelize into thick, golden dulce de leche.
Water: You’ll also need water for either cooking method, but we’re not counting that as an ingredient. 😉
NOTE: Be sure you’re using sweetened condensed milk, NOT evaporated milk. They aren’t interchangeable for this recipe.
How to Make Dulce de Leche
Choose your method! Both take about the same amount of time, so it really comes down to whether you’d rather use the stovetop or oven.
Stovetop Method
- Prep the can: Remove the paper label from the can of sweetened condensed milk.
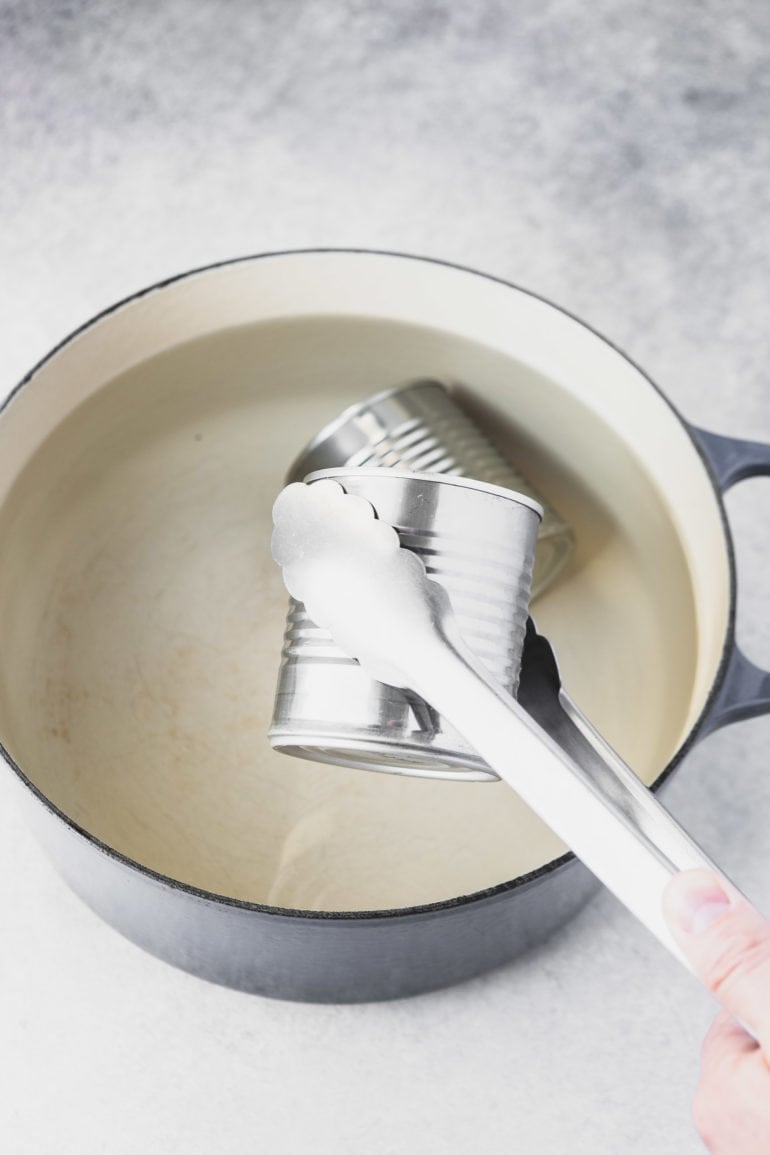
- Cover with water: Place the unopened can in a large saucepan and completely cover it with water.
- Bring to a boil: Bring the water to a boil, then reduce the heat to maintain a gentle simmer.
- Simmer: Cook for about 2–2½ hours, depending on how dark and thick you want your dulce de leche.
- Watch the water: Check the pot regularly and add more hot water as needed so the can remains completely submerged.
- Cool completely: Carefully remove the can from the water and let it cool completely before opening.
IMPORTANT: Keep the can completely submerged in water the entire time and never open the can while it’s hot. Let it cool completely first.
Oven Method
- Preheat: Heat the oven according to the temperature in the recipe card.
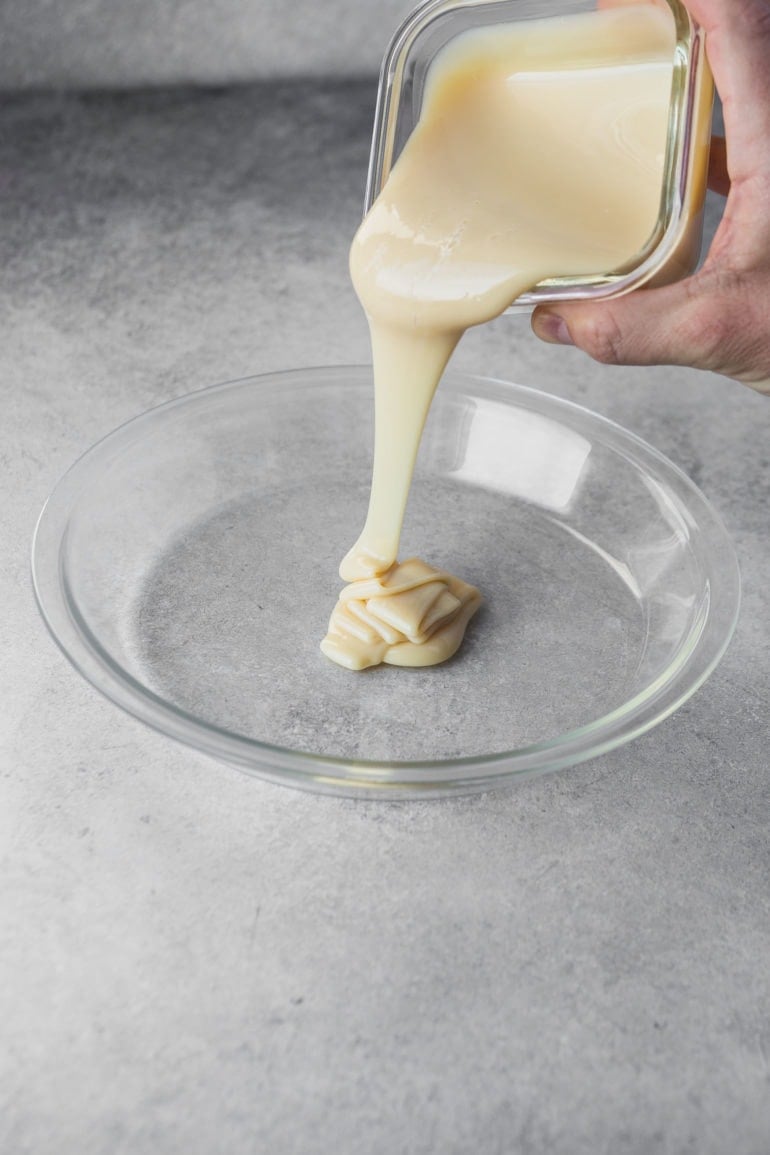
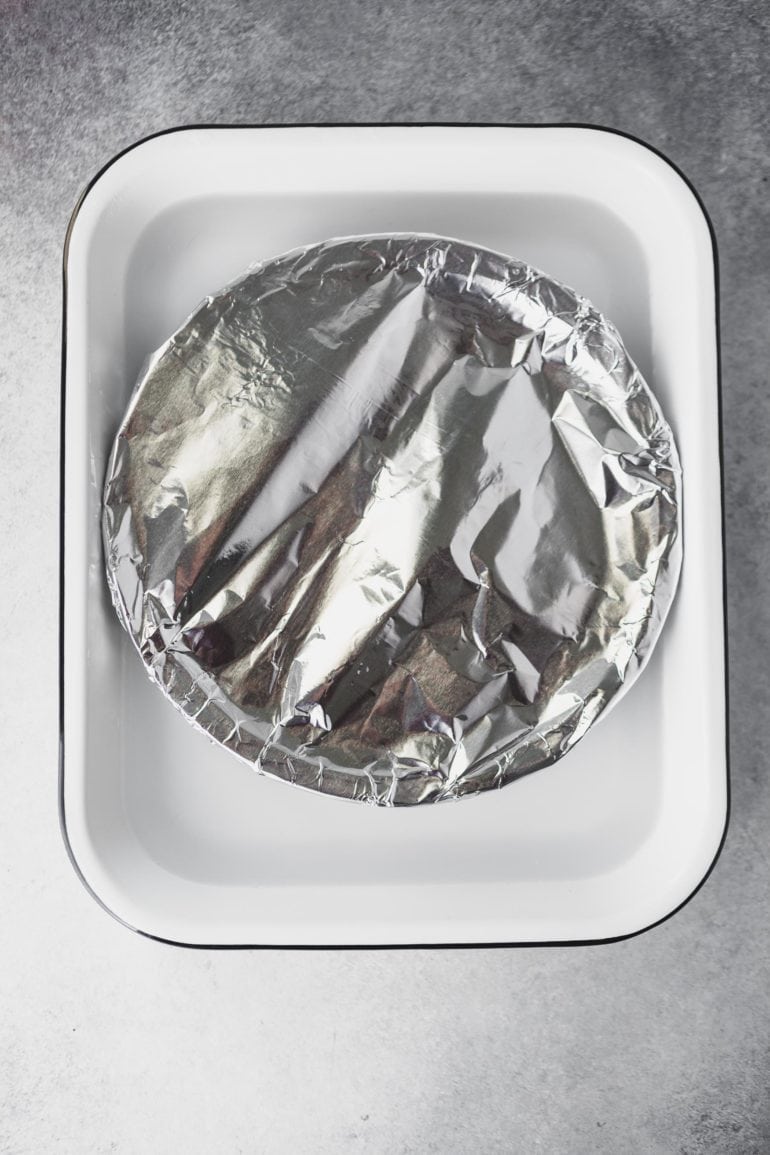
- Pour: Pour the sweetened condensed milk into a pie dish and cover tightly with foil.
- Make a water bath: Place the pie dish inside a larger baking dish and add about 1 inch of hot water.
- Bake: Bake for about 2 hours, checking the water level occasionally and adding more as needed.
- Cool and whisk: Let the dulce de leche cool, then whisk until completely smooth.
STOVETOP OR OVEN? The stovetop is the most hands-off, while the oven method gives you more control over the color and consistency.
Ways to Use Dulce de Leche
Dulce de leche is ridiculously versatile. Try it:
- Drizzled over ice cream
- Swirled into brownies or cheesecake
- Spread between cake layers
- Stuffed into cookies
- Spoon over pancakes or waffles
- Served with churros
- Layered into pies
- Spread over toast or crepes
- Or straight off the spoon. No judgment here.
How to Store Dulce de Leche
Let the dulce de leche cool completely, then transfer it to an airtight jar or container and store it in the refrigerator for up to 2 weeks. It will thicken as it chills, so let it sit at room temperature for a bit or gently warm it if you want a more drizzle-able consistency.

More Dulce de Leche Recipes
- Brown Butter Dulce de Leche Rice Krispie Treats – Gooey Rice Krispie treats get an upgrade with nutty brown butter and rich dulce de leche.
- Banana Dulce de Leche Pie – Creamy banana pie with a rich dulce de leche layer.
- Dulce de Leche Chocolate Cheesecake Bars – Rich chocolate cheesecake bars with dulce de leche.
- Nutella and Dulce de Leche Stuffed Cookies – Gooey cookies stuffed with Nutella and dulce de leche.
- Dulce de Leche Stuffed Chocolate Mexican Cookies – Chocolate cookies with a gooey dulce de leche center.
- Chocolate Caramel Molten Lava Cakes – Individual chocolate cakes with a molten dulce de leche center.
- Dulce de Leche Ice Cream – Rich, creamy homemade ice cream swirled with sweet, caramelized dulce de leche.
Once you see how easy it is to make dulce de leche at home, you might never buy it again! One ingredient and a little patience gives you thick, creamy caramel that’s ready for pies, cookies, ice cream or just eating straight off the spoon.
Dulce De Leche

Instructions
Stove Top Method
- Peel the paper off of the can and place in a saucepan filled with enough water to cover the can by 1”.1 Can Sweetened Condensed Milk
- Place over medium high heat until the water boils. Reduce to a simmer then just keep an occasional eye on the water as some will evaporate, adding more if needed.
- Simmer for 2 hours for a light caramel color, but we prefer 2 ½ to darken it (even up to 3 for an extra dark color.
Oven Method
- Preheat the oven to 425℉.
- Pour the sweetened condensed milk into a pie dish and cover tightly with foil, pinching the sides shut.
- Place pie dish into a deep pan filled with water 1” deep.
- Bake for 2 hours, then cool completely and whisk to remove any clumps.
Recipe Notes
Nutrition
Nutrition information is automatically calculated, so should only be used as an approximation.





will be making all soon with few subs can i use vegan condensed milk for this as am a vegan perfect for my office snacks will dm you guys if i make this and let you guys how it goes Thanks Ramya
Sounds great Ramya!